Sphinx & Read the Docs Guide
This guide provides step-by-step instructions for setting up Sphinx documentation and hosting it on Read the Docs.
Table of Contents
Introduction
Sphinx is a powerful documentation generator that converts reStructuredText (RST) files into various output formats like HTML and PDF. Read the Docs is a popular hosting platform for Sphinx documentation that provides automatic building and versioning.
This guide covers:
Installing Sphinx and required dependencies
Creating and configuring a Sphinx project
Building documentation locally
Deploying to Read the Docs
Advanced configuration and customization
Reference Links
Below are helpful reference links for learning more about Sphinx and reStructuredText.
Sphinx Documentation:
reStructuredText Resources:
Video Tutorial:
Prerequisites
System Requirements
This guide assumes you are using a Debian/Ubuntu-based Linux system. For other operating systems, please refer to the Sphinx installation guide.
1. Install Sphinx
Install Sphinx using the system package manager:
sudo apt-get install python3-sphinx
For more installation options, see the official installation guide.
2. Install pip (Python Package Manager)
If pip is not already installed, follow these steps:
# Update package information
sudo apt-get update

# Upgrade existing packages
sudo apt-get upgrade

# Install pip for Python 3
sudo apt-get install python3-pip
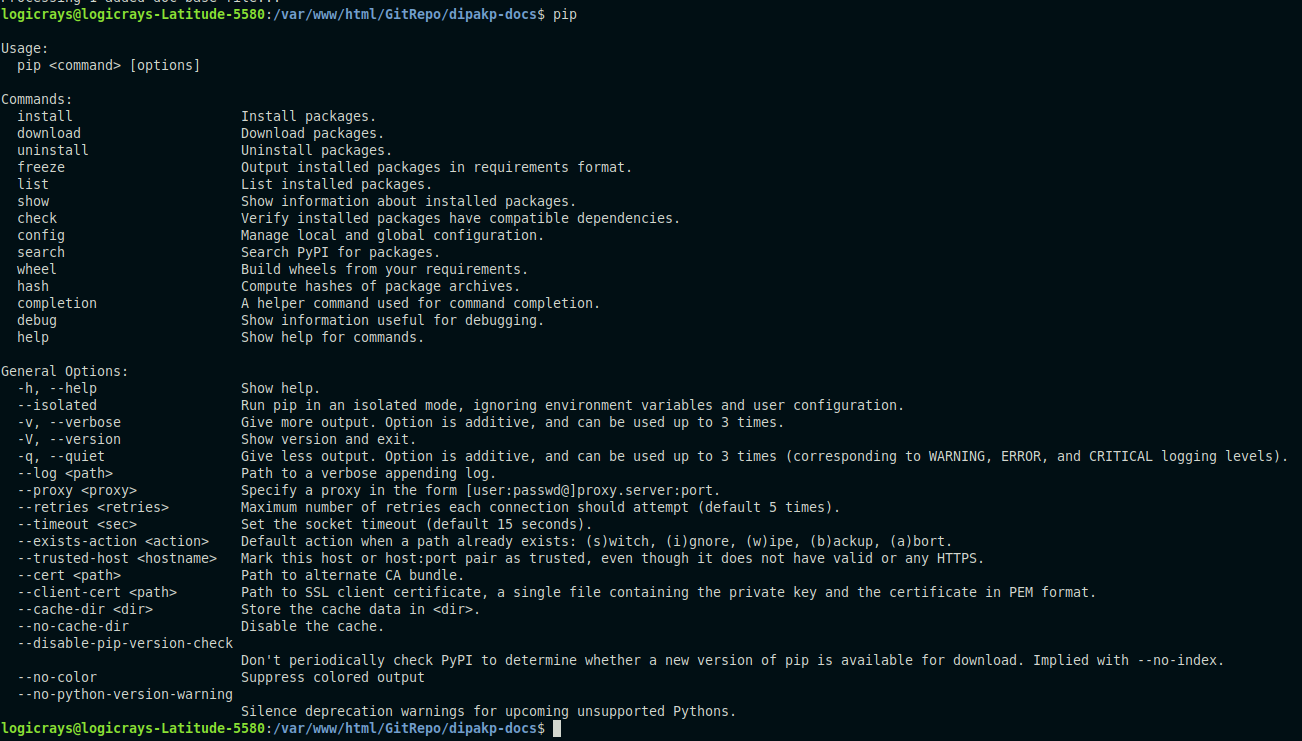
Verify pip installation:
pip --version
Expected output:
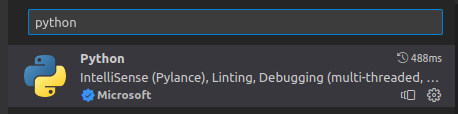
3. Install VS Code Extensions (Optional)
For a better development experience with VS Code, install these extensions:
Python Extension
Makefile Tools

4. Install Sphinx Extensions
Install the required Sphinx extensions for enhanced functionality:
# Install Read the Docs theme
pip install sphinx-rtd-theme

# Install extensions for code tabs and syntax highlighting
pip install sphinx_code_tabs
pip install sphinx_tabs.tabs

# Install multimedia and interactive extensions
pip install sphinxcontrib.video
pip install sphinx-prompt

# Install navigation and search enhancements
pip install sphinx-notfound-page
pip install sphinx-hoverxref
pip install readthedocs-sphinx-search

# Install design and emoji support
pip install sphinxemoji
pip install sphinx_design

# Install Markdown parser (optional)
pip install myst-parser
Tip
You can install all extensions at once by creating a requirements.txt file and running pip install -r requirements.txt
Quick Start Guide
This section walks you through creating a new Sphinx documentation project from scratch.
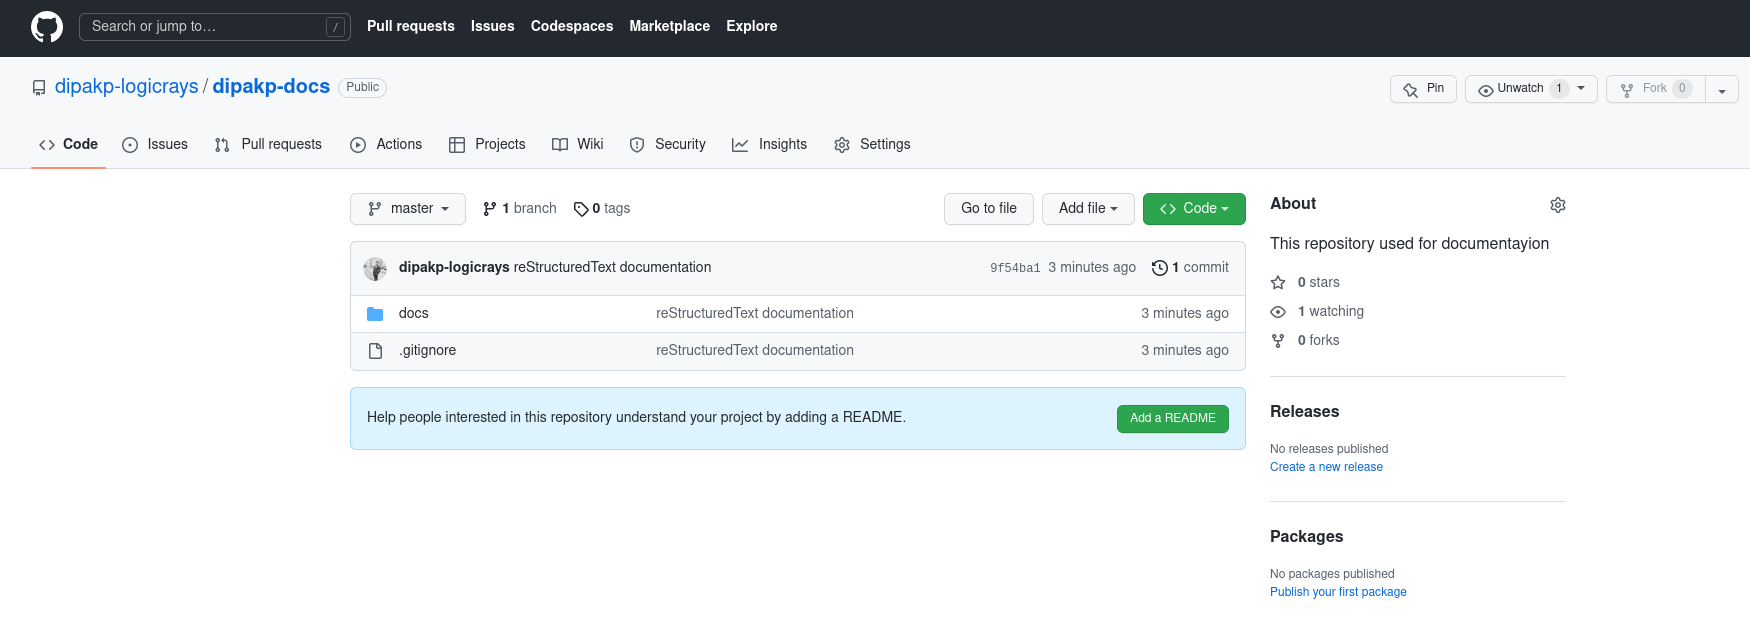
Step 1: Create a GitHub Repository
Create a public repository on GitHub to host your documentation source code. This is required for deploying to Read the Docs.
Step 2: Initialize Local Git Repository
Clone or initialize your repository locally:
# Navigate to your project directory
cd /var/www/html/GitRepo/dipakp-docs

# Initialize git if not already done
git init

# Add your GitHub repository as remote
git remote add origin <your_public_github_repo_url>

# Fetch from remote (if repository already exists)
git fetch
Replace <your_public_github_repo_url> with your actual GitHub repository URL.
Step 3: Create Documentation Directory
Create a dedicated directory for your documentation:
mkdir docs
Step 4: Run Sphinx Quick Start
Initialize your Sphinx project using the interactive quick start wizard:
cd docs
sphinx-quickstart
The wizard will ask you several questions. Here are the recommended settings:
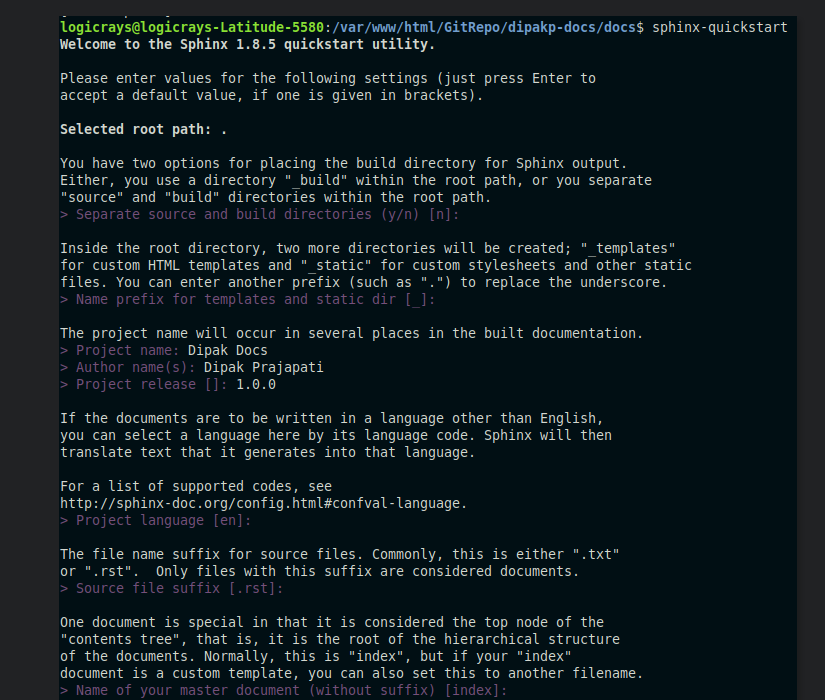
Fig. 3 Sphinx configuration wizard - Part 1
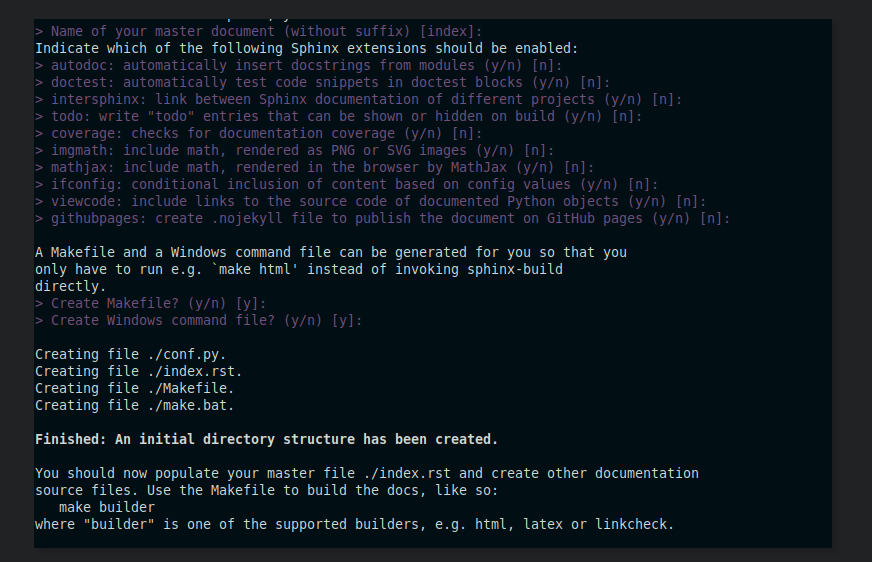
Fig. 4 Sphinx configuration wizard - Part 2
Key configuration options:
Separate source and build directories: Choose “yes” (recommended)
Project name: Enter your project name
Author name: Enter author name(s)
Project release: Enter version number (e.g., 1.0.0)
Project language: Enter “en” for English
Step 5: Verify Directory Structure
After running sphinx-quickstart, verify the created files and directories:
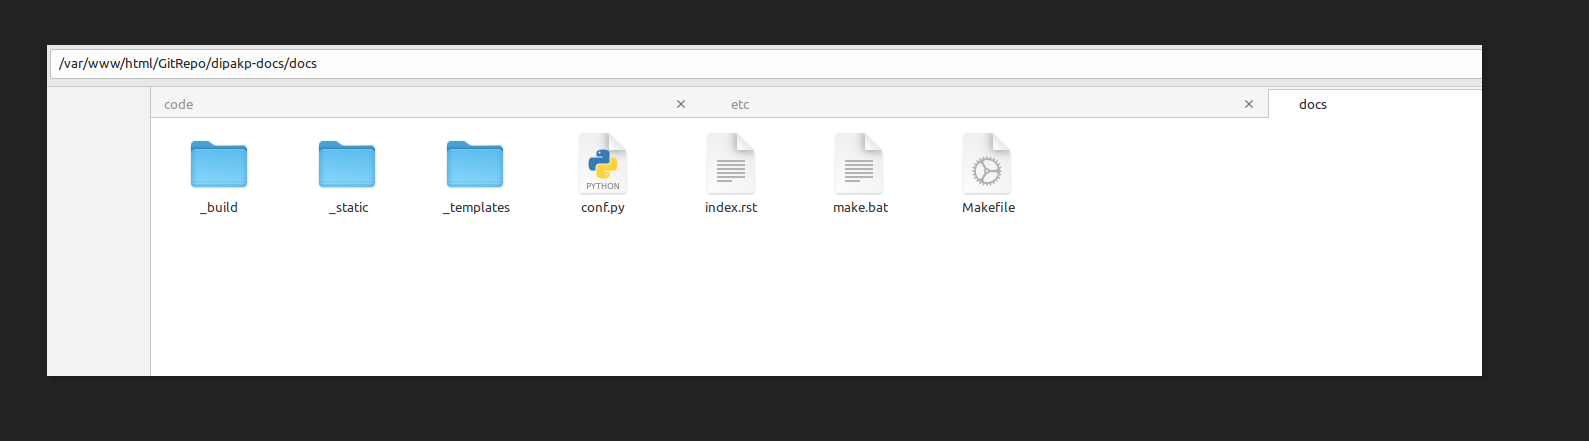
The docs directory should now contain:
conf.py- Sphinx configuration fileindex.rst- Main documentation fileMakefile- Build automation for Linux/Macmake.bat- Build automation for Windows_build/- Output directory (created after first build)_static/- Static files (CSS, images, etc.)_templates/- Custom HTML templates
Building Your Documentation
Build HTML Output
To generate HTML documentation, run the following command from the docs directory:
make html
This will generate HTML files in docs/_build/html.

Note
On Windows, use make.bat html instead.
Build Other Formats
Sphinx supports multiple output formats:
# Build PDF documentation (requires LaTeX)
make latexpdf

# Build EPUB (e-book format)
make epub

# Build plain text
make text

# View all available formats
make help
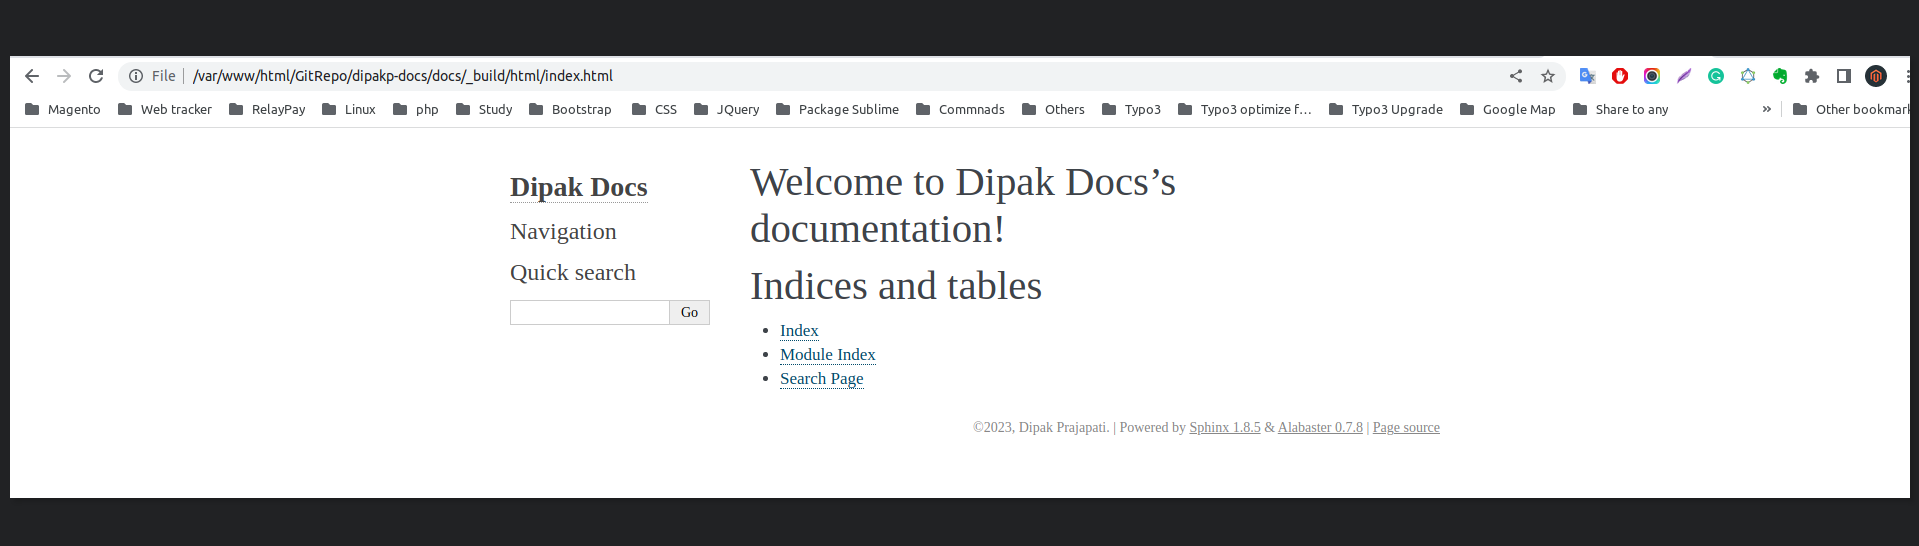
Preview Documentation Locally
After building, you can preview your documentation locally:
Option 1: Open directly in browser
Navigate to docs/_build/html and open index.html in your web browser.
Option 2: Use a local web server
# Using Python's built-in server
cd docs/_build/html
python -m http.server 8000
Then open http://localhost:8000 in your browser.
Preview Screenshot:
Sphinx Configuration
The conf.py file controls all aspects of your Sphinx documentation. This section covers essential configuration options.
Change Theme
The Read the Docs theme is the most popular theme for Sphinx documentation. To enable it, edit docs/conf.py:
html_theme = 'sphinx_rtd_theme'
Tip
Other popular themes include alabaster (default), sphinx_book_theme, and pydata_sphinx_theme.
Configure Extensions
Add Sphinx extensions to enable additional features. Edit the extensions list in docs/conf.py:
extensions = [
    # Core Sphinx extensions
    "sphinx.ext.autodoc",      # Auto-generate documentation from docstrings
    "sphinx.ext.viewcode",     # Add links to source code
    "sphinx.ext.napoleon",     # Support for NumPy and Google style docstrings

    # Third-party extensions
    "sphinxcontrib.video",     # Embed videos
    "sphinx_tabs.tabs",        # Tabbed content
    "sphinx-prompt",           # Command-line prompts
    "notfound.extension",      # Custom 404 page
    "hoverxref.extension",     # Hover tooltips for references
    "sphinxemoji.sphinxemoji", # Emoji support
    "sphinx_design",           # Design elements (cards, grids, etc.)
    "myst_parser",             # Markdown support
]
Note
Each extension must be installed via pip before adding it to the configuration.
Advanced Configuration Options
Add these settings to the bottom of docs/conf.py for enhanced functionality:
# HTML output options
# -------------------

# Hide "View page source" links
html_show_sourcelink = False

# Hide "Created using Sphinx" in footer
html_show_sphinx = False

# Custom HTML title format
html_title = "My Documentation"

# Logo and favicon
# html_logo = "_static/logo.png"
# html_favicon = "_static/favicon.ico"


# MyST Parser options
# -------------------

myst_enable_extensions = [
    "deflist",      # Definition lists
    "colon_fence",  # ::: code fences
    "substitution", # Variable substitutions
]


# Hoverxref configuration
# -----------------------

hoverxref_auto_ref = True
hoverxref_domains = ["py"]
hoverxref_roles = [
    "option",
    "doc",   # Documentation pages
    "term",  # Glossary terms
]

hoverxref_role_types = {
    "mod": "modal",      # Python modules
    "doc": "modal",      # Documentation pages
    "class": "tooltip",  # Python classes
    "ref": "tooltip",    # References
    "confval": "tooltip", # Configuration values
    "term": "tooltip",   # Glossary terms
}

hoverxref_intersphinx = [
    "sphinx",
    "pip",
    "nbsphinx",
    "myst-nb",
    "ipywidgets",
    "jupytext",
]
Preparing for Read the Docs Deployment
To deploy your documentation on Read the Docs, you need to prepare your repository with proper configuration files.
Step 1: Create .readthedocs.yaml Configuration
Create a .readthedocs.yaml file in your project root directory. This file ensures reproducible builds on Read the Docs.
Reference: Reproducible Builds Guide
 # Read the Docs configuration file
 # See https://docs.readthedocs.io/en/stable/config-file/v2.html

 version: 2

 # Set the version of Python and other tools
 build:
   os: ubuntu-22.04
   tools:
     python: "3.10"

 # Build documentation in the docs/ directory with Sphinx
 sphinx:
   configuration: docs/conf.py
   fail_on_warning: false

 # Optionally declare the Python requirements
 python:
   install:
     - requirements: requirements.txt

 # Build formats (PDF is optional)
 formats:
   - pdf
Warning
The filename is .readthedocs.yaml (with a leading dot), not readthedocs.yaml.
Step 2: Create Requirements File
Create a requirements.txt file in your project root to specify all Python dependencies:
 # Sphinx core
 sphinx>=4.5.0

 # Theme
 sphinx-rtd-theme

 # Extensions
 sphinx-tabs
 sphinx-code-tabs
 sphinxcontrib-video
 sphinx-prompt
 sphinx-notfound-page
 sphinx-hoverxref
 sphinxemoji
 sphinx_design
 readthedocs-sphinx-search
 myst-parser
Tip
For advanced projects, you can organize requirements into separate files in a requirements/ directory.
Advanced: Organized Requirements Files
For larger projects, you can organize dependencies into separate files within a requirements/ directory:
# Packages required to build docs, independent of application dependencies

-r pip.txt

sphinx_rtd_theme==1.2.0rc1
# Note: Version 3.4.1 of sphinx-tabs requires docutils 0.18 which is yet to be supported by sphinx-rtd-theme
# Version 3.4.0 has an incompatible Jinja2 version which also blocks sphinx-rtd-theme
# All-together, we cannot upgrade to Sphinx 5.x before either sphinx-tabs or sphinx-rtd-theme fixes these
# issues.
sphinx-tabs==3.3.1
sphinx-intl==2.0.1
sphinx-design==0.2.0
sphinx-multiproject==1.0.0rc1
readthedocs-sphinx-search==0.1.2

# Test out hoverxref
git+https://github.com/readthedocs/sphinx-hoverxref

# Docs
sphinxemoji==0.2.0
sphinxcontrib-httpdomain==1.8.1
sphinx-prompt==1.4.0
sphinx-notfound-page==0.8
sphinx-autobuild==2021.3.14

# Markdown
myst_parser==0.17.2

# sphinxcontrib-video
git+https://github.com/readthedocs/sphinxcontrib-video/
#
# This file is autogenerated by pip-compile with Python 3.10
# by the following command:
#
#    pip-compile --output-file=requirements/docs.txt --resolver=backtracking requirements/docs.in
#

docker==6.0.1
    # via -r requirements/pip.txt
docutils==0.17.1
    # via
    #   -r requirements/pip.txt
    #   myst-parser
    #   sphinx
    #   sphinx-rtd-theme
    #   sphinx-tabs

sphinx==4.5.0
    # via
    #   -r requirements/pip.txt
    #   myst-parser
    #   sphinx-autobuild
    #   sphinx-design
    #   sphinx-hoverxref
    #   sphinx-intl
    #   sphinx-prompt
    #   sphinx-rtd-theme
    #   sphinx-tabs
    #   sphinxcontrib-httpdomain
    #   sphinxemoji
sphinx-autobuild==2021.3.14
    # via -r requirements/docs.in
sphinx-design==0.2.0
    # via -r requirements/docs.in
sphinx-hoverxref @ git+https://github.com/readthedocs/sphinx-hoverxref
    # via -r requirements/docs.in
sphinx-intl==2.0.1
    # via -r requirements/docs.in
sphinx-multiproject==1.0.0rc1
    # via -r requirements/docs.in
sphinx-notfound-page==0.8
    # via -r requirements/docs.in
sphinx-prompt==1.4.0
    # via -r requirements/docs.in
sphinx-rtd-theme==1.2.0rc1
    # via -r requirements/docs.in
sphinx-tabs==3.3.1
    # via -r requirements/docs.in
sphinxcontrib-applehelp==1.0.2
    # via
    #   -r requirements/pip.txt
    #   sphinx
sphinxcontrib-devhelp==1.0.2
    # via
    #   -r requirements/pip.txt
    #   sphinx
sphinxcontrib-htmlhelp==2.0.0
    # via
    #   -r requirements/pip.txt
    #   sphinx
sphinxcontrib-httpdomain==1.8.1
    # via -r requirements/docs.in
sphinxcontrib-jquery==3.0.0
    # via sphinx-hoverxref
sphinxcontrib-jsmath==1.0.1
    # via
    #   -r requirements/pip.txt
    #   sphinx
sphinxcontrib-qthelp==1.0.3
    # via
    #   -r requirements/pip.txt
    #   sphinx
sphinxcontrib-serializinghtml==1.1.5
    # via
    #   -r requirements/pip.txt
    #   sphinx
sphinxcontrib-video @ git+https://github.com/readthedocs/sphinxcontrib-video/
    # via -r requirements/docs.in
sphinxemoji==0.2.0
    # via -r requirements/docs.in
wcwidth==0.2.5
    # via
    #   -r requirements/pip.txt
    #   prompt-toolkit
websocket-client==1.4.2
    # via
    #   -r requirements/pip.txt
    #   docker

# The following packages are considered to be unsafe in a requirements file:
# setuptools
myst_parser==0.17.2
# Base packages
pip
virtualenv

# For intersphinx during builds
# We need these pinned to build the docs properly
Sphinx==4.5.0
docutils==0.17.1

docker
#
# This file is autogenerated by pip-compile with Python 3.10
# by the following command:
#
#    pip-compile --output-file=requirements/pip.txt --resolver=backtracking requirements/pip.in
#
docker==6.0.1
    # via -r requirements/pip.in
docutils==0.17.1
    # via
    #   -r requirements/pip.in
    #   sphinx
wcwidth==0.2.5
    # via prompt-toolkit
websocket-client==1.4.2
    # via docker

# The following packages are considered to be unsafe in a requirements file:
# pip
Note
If using organized requirements files, update your .readthedocs.yaml to point to the correct files:
python:
  install:
    - requirements: requirements/pip.txt
    - requirements: requirements/docs.txt
Step 3: Configure Git Ignore
Create or update .gitignore in your project root to exclude build files:
 # Sphinx documentation build outputs
 docs/_build/
 docs/_static/
 docs/_templates/

 # Python
 __pycache__/
 *.py[cod]
 *$py.class
 *.so
 .Python
 env/
 venv/
 ENV/

 # IDE
 .vscode/
 .idea/
 *.swp
 *.swo
Example Repository: DevDungeon/Cathy
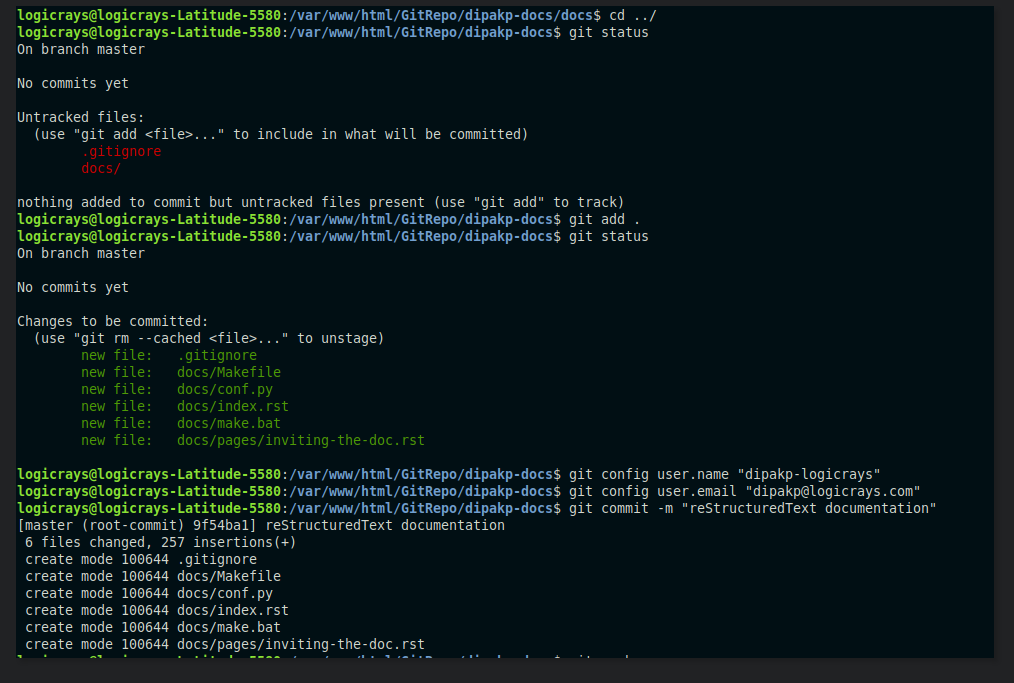
Step 4: Commit and Push to GitHub
Now commit all your changes and push to GitHub:
# Stage all files
git add .
# Configure git (if not already done)
git config user.name "Your Name"
git config user.email "your.email@example.com"
# Commit changes
git commit -m "Initial Sphinx documentation setup"
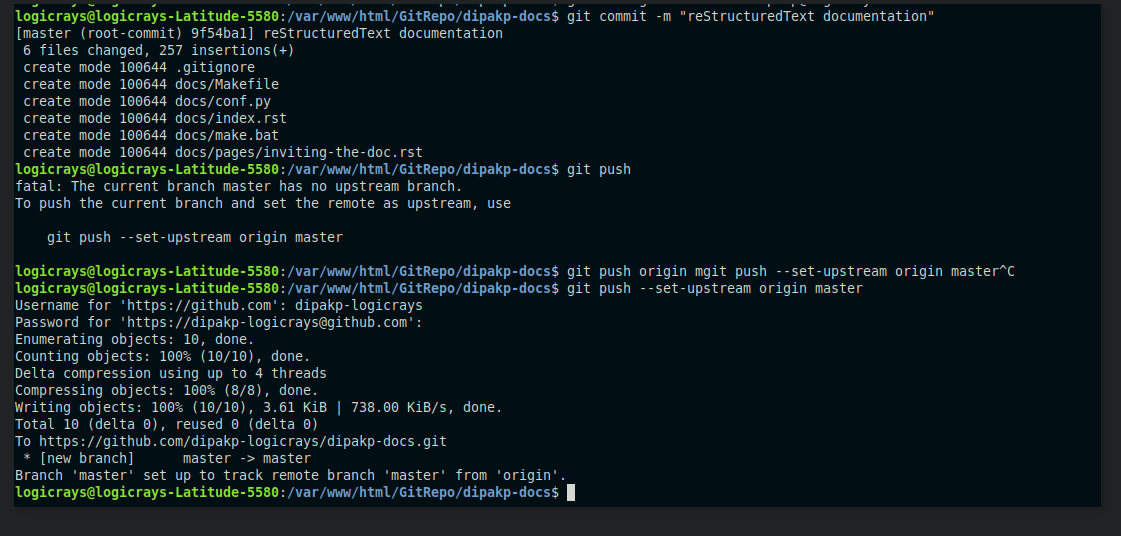
# Push to GitHub
git push -u origin master
Important
Replace "Your Name" and "your.email@example.com" with your actual Git credentials.
Example Screenshots:
Deploying to Read the Docs
Once your repository is ready, you can deploy your documentation to Read the Docs.
Step 1: Create Read the Docs Account
If you don’t have an account yet:
Visit Read the Docs Sign Up
Sign up using your GitHub account (recommended) or email
Verify your email address
Step 2: Import Your Project
Log in to Read the Docs
Click “Import a Project” from your dashboard
Connect your GitHub account if you haven’t already
Select your documentation repository from the list
Click “Import”
Detailed Guide: Import Guide
Step 3: Configure Project Settings
After importing, configure your project:
Basic Settings:
Name: Your project name (used in URLs)
Repository URL: Should be auto-detected
Default branch: Usually
masterormainDefault version: Usually
latest
Advanced Settings:
Documentation type: Sphinx
Programming language: Python
Python configuration file:
docs/conf.pyRequirements file:
requirements.txt
Step 4: Build Documentation
Read the Docs will automatically build your documentation when you push to GitHub. You can also trigger builds manually:
Go to your project dashboard
Click “Builds” tab
Click “Build Version”
Monitor the build output for any errors or warnings.
Step 5: View Your Documentation
Once the build succeeds, your documentation will be available at:
https://<your-project-name>.readthedocs.io/
Tip
You can set up custom domains in the project settings.
Advanced: Using Sphinx Code Tabs
The sphinx-code-tabs extension allows you to create tabbed code blocks for different programming languages.
Installation
pip install sphinx_code_tabs
Configuration
Add the extension to your conf.py:
extensions = [
    # ... other extensions ...
    'sphinx_code_tabs',
]
Basic Usage
Create tabbed code blocks using the tabs directive:
.. tabs::

    .. code-tab:: bash
        :caption: Bash

        echo "Hello, World!"

    .. code-tab:: python
        :caption: Python

        print("Hello, World!")

    .. code-tab:: javascript
        :caption: JavaScript

        console.log("Hello, World!");
This creates a tabbed interface where users can switch between different code examples.
Advanced Features
Selected tab by default:
.. tab:: Output
    :selected:

    Hello, World!
Grouped tabs (synchronized switching):
.. tabs:: language-group

    .. code-tab:: bash

        echo "First example"

    .. code-tab:: python

        print("First example")

.. tabs:: language-group

    .. code-tab:: bash

        echo "Second example"

    .. code-tab:: python

        print("Second example")
When users switch tabs in one group, all other groups with the same name will switch automatically.
Learn more: sphinx-code-tabs documentation
Troubleshooting
Common Build Errors
Error: “Module not found”
Ensure all required packages are listed in
requirements.txtCheck that package names are spelled correctly
Verify package versions are compatible
Error: “Configuration file not found”
Verify
.readthedocs.yamlpoints to correctconf.pylocationCheck file paths use forward slashes (
/) not backslashes
Error: “Theme not found”
Add the theme package to
requirements.txtExample:
sphinx-rtd-theme
Build warnings about missing files
Ensure all referenced images exist in the correct paths
Check that file extensions match exactly (case-sensitive)
Performance Issues
Slow builds:
Reduce the number of pages being built
Optimize image sizes
Consider using
sphinx-autobuildfor local development
Out of memory errors:
Reduce concurrent builds in Read the Docs settings
Split large documentation into multiple projects
Optimize resource-heavy extensions
Getting Help
If you encounter issues:
Check the Read the Docs documentation
Review the Sphinx documentation
Search Stack Overflow
Ask in the Read the Docs community
Conclusion
You now have a complete Sphinx documentation setup integrated with Read the Docs. Your documentation will automatically rebuild whenever you push changes to your GitHub repository.
Next steps:
Write more documentation in reStructuredText format
Explore additional Sphinx extensions
Customize your theme and styling
Set up documentation versioning
Add API documentation with autodoc
Useful Resources: